

Reach out to support@sosha.ai with any additional questions or submit a ticket below.
Submit ticketHow to Add User-Generated Content to SoSha Posts
The User-Generated Content feature lets your community upload their own photos and videos to share as part of your campaign or event.
UGC puts real people and experiences at the center of your campaign, making content more authentic and engaging. You can also add custom frames to keep submissions connected to your branding.
How to Add User-Generated Content to a Post:
Click "+ New Post" in the post creator.

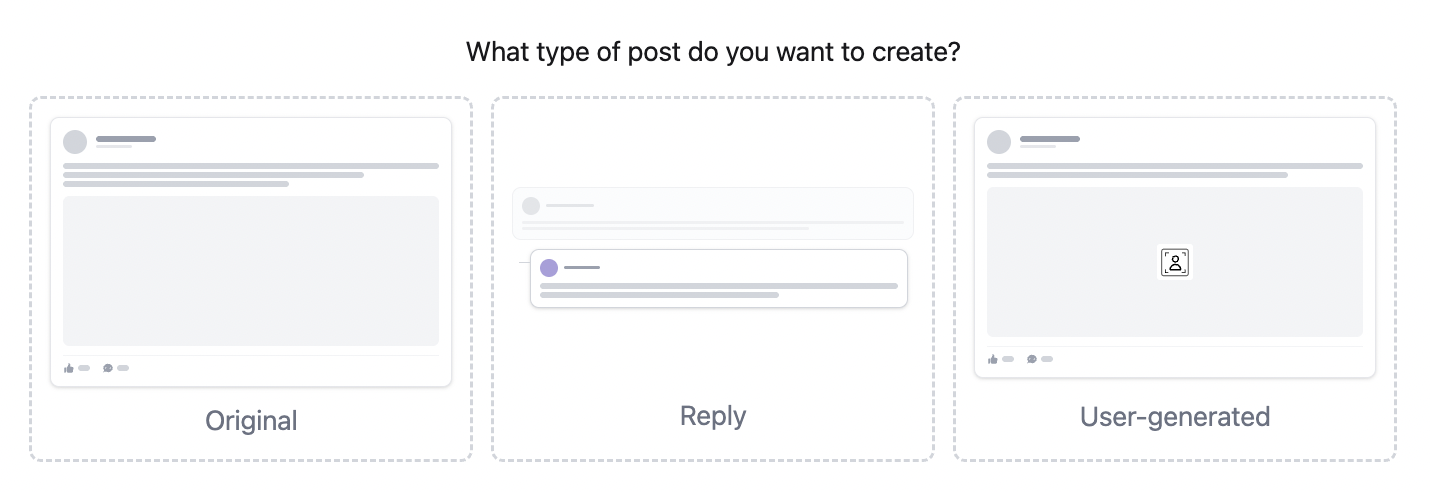
Select 'User-Generated Content' from the options of posts to build.
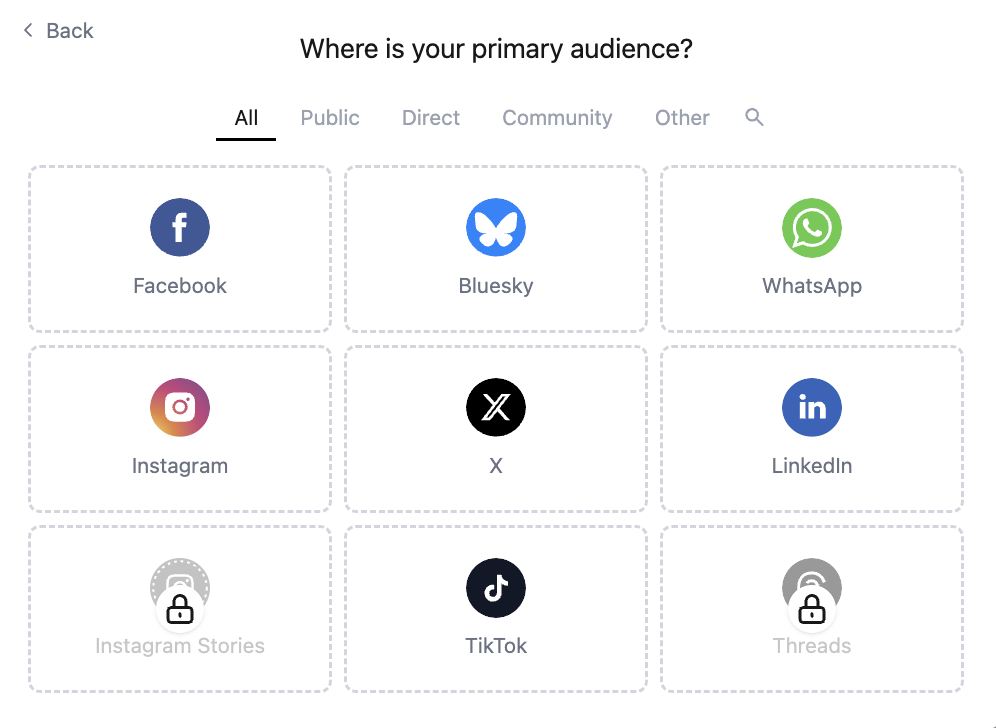
Select the social media platforms where you want your community to share this post.
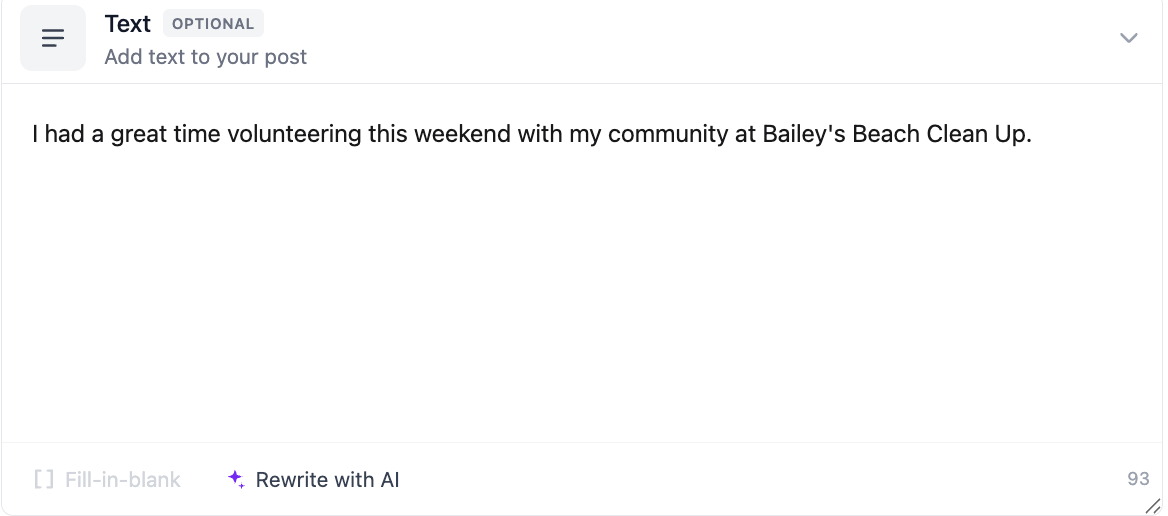
Enter the caption you’d like your community to share with the image. (See How to Create a Post for details.)
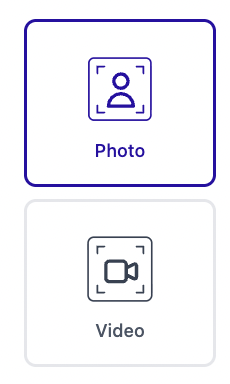
For User-generated content, choose Video or Photo. When sharing, your community can record a video, take a photo, or upload either directly from their camera roll.
Select the format you’d like the content to be displayed (Story, Grid, Feed, or Custom Frame).
Note: Since these posts use a manual image (not a link preview), your overlay doesn’t need to match the usual link card shape or size.You have more flexibility with design and aspect ratio — just make sure it fits the platform your users will be sharing on (e.g. 9:16 for Instagram stories).
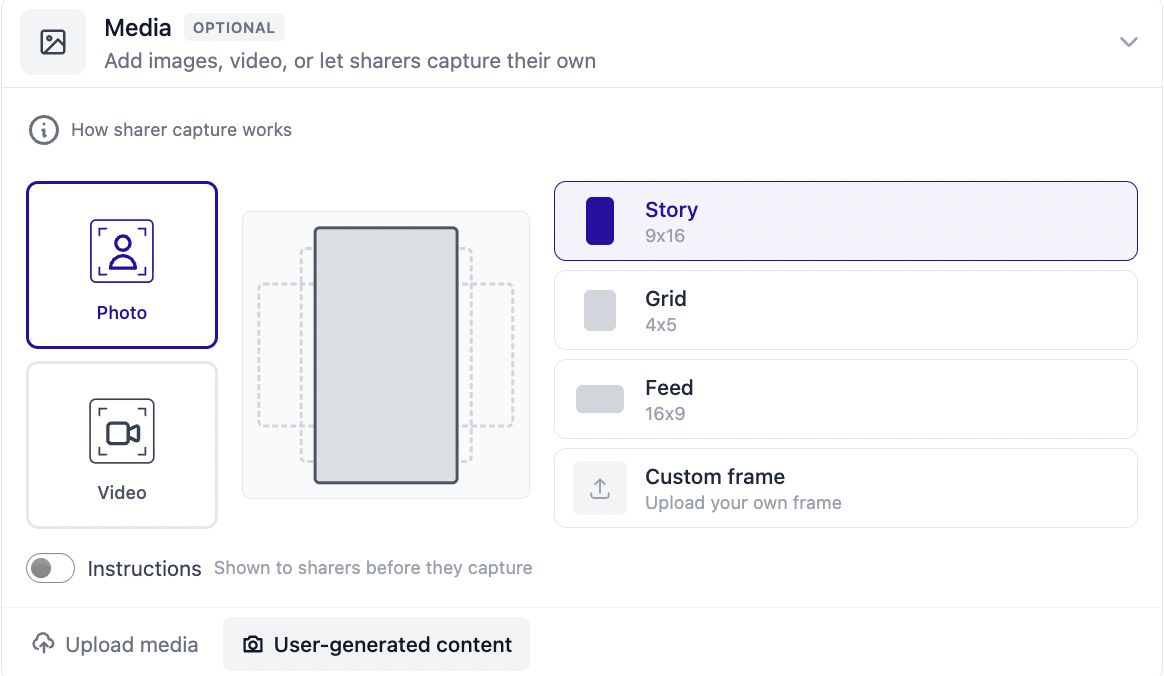
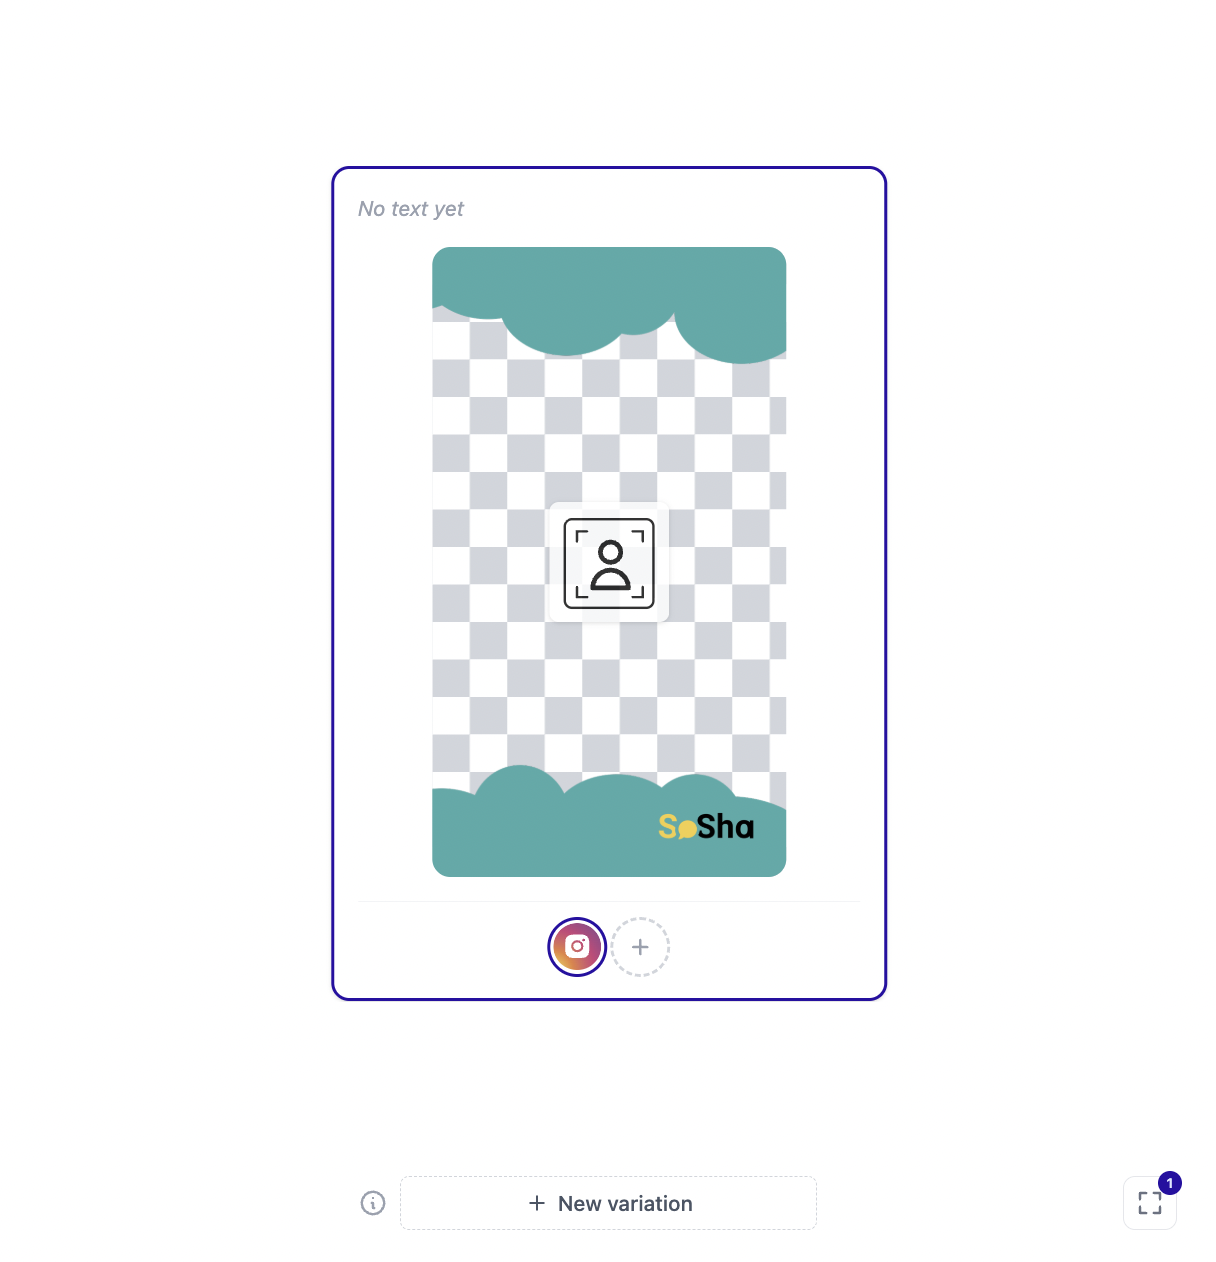
(Optional) Add a custom frame for the sharer’s content. Make sure it’s a transparent PNG so their photo or video can appear underneath. Your graphic will sit on top like a frame or sticker without covering their content.
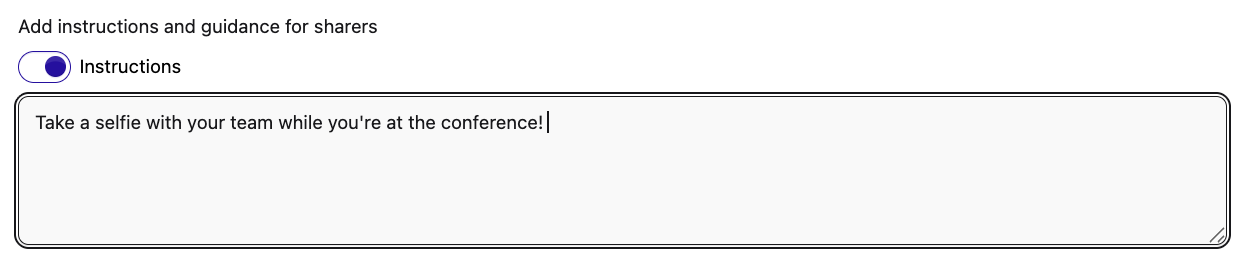
Enable instructions to guide your community in what to take a picture of or to guide them in recording their own video.

For Photos:
Click Instructions to add a short description for sharers.
For Videos:
Click Instructions to provide guidance for sharers of how they should record the video.
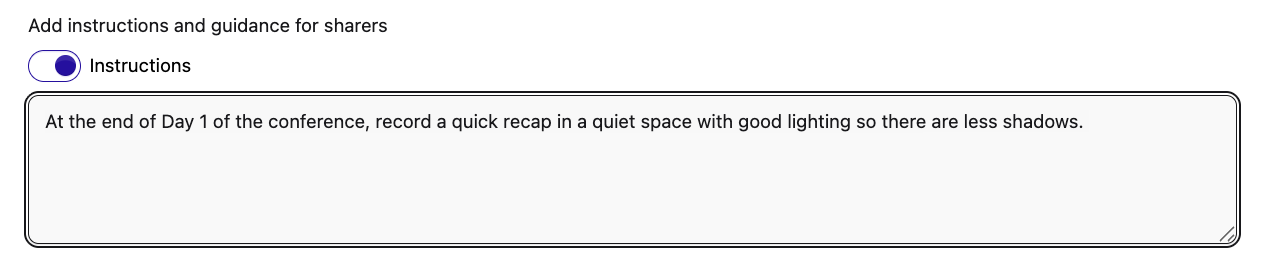
Click Prompt to display a short message while they record.

(Optional) Enter a link and link caption.
Save the post as a draft or publish when ready.